I was in the middle of a frantic Tuesday night, the kind where the kids are demanding dinner, the dishwasher is humming louder than a jet engine, and my confidence in the kitchen is hanging by a thread. I had a bag of frozen peas staring at me like a bland promise of something edible, and a sudden dare from my partner: “Make something that actually feels like a hug.” I laughed, grabbed the butter, and thought, “Why not turn these little green gems into a creamy masterpiece that could replace any comfort food?” That night, I discovered the secret that turned a simple side into a nostalgic, indulgent experience that still haunts my taste buds.
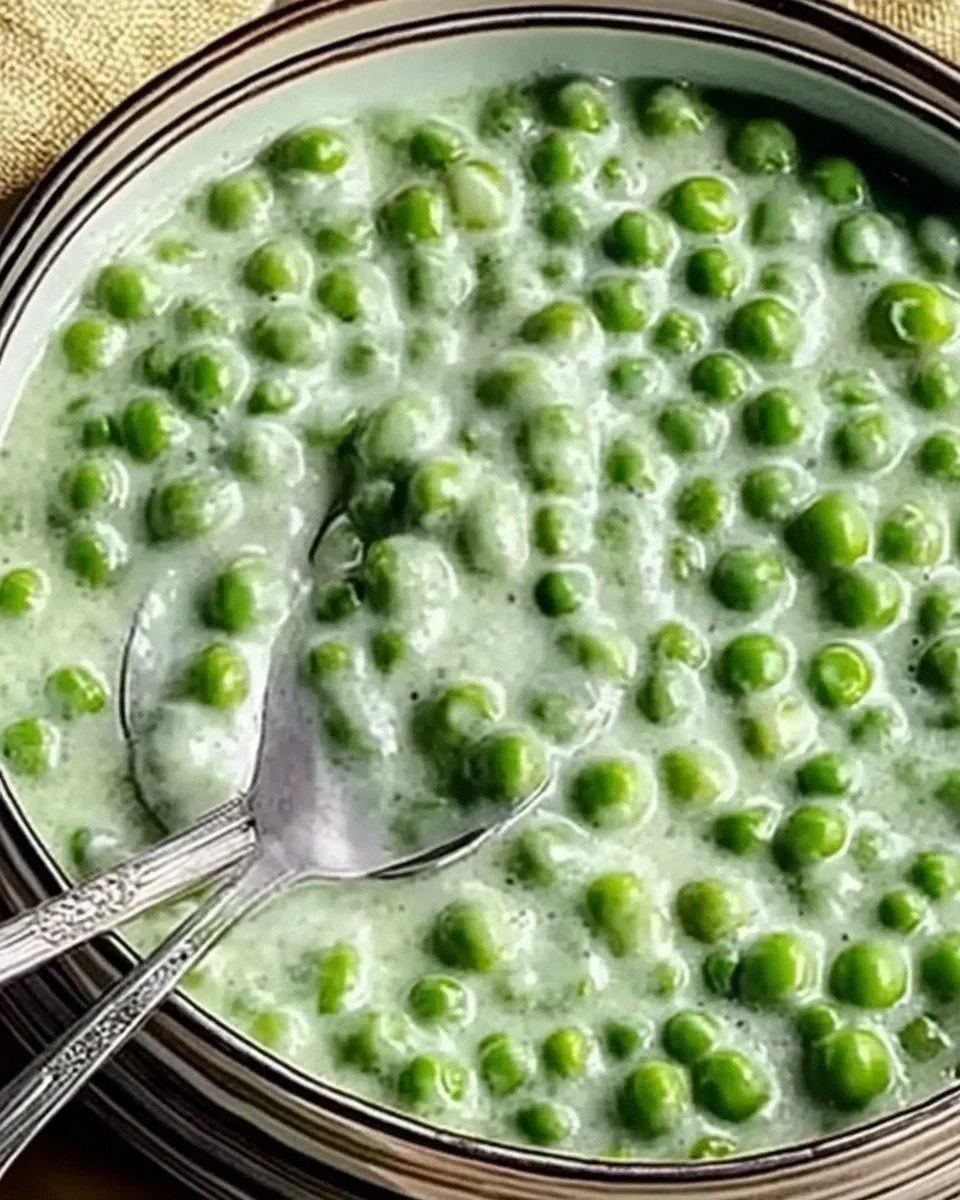
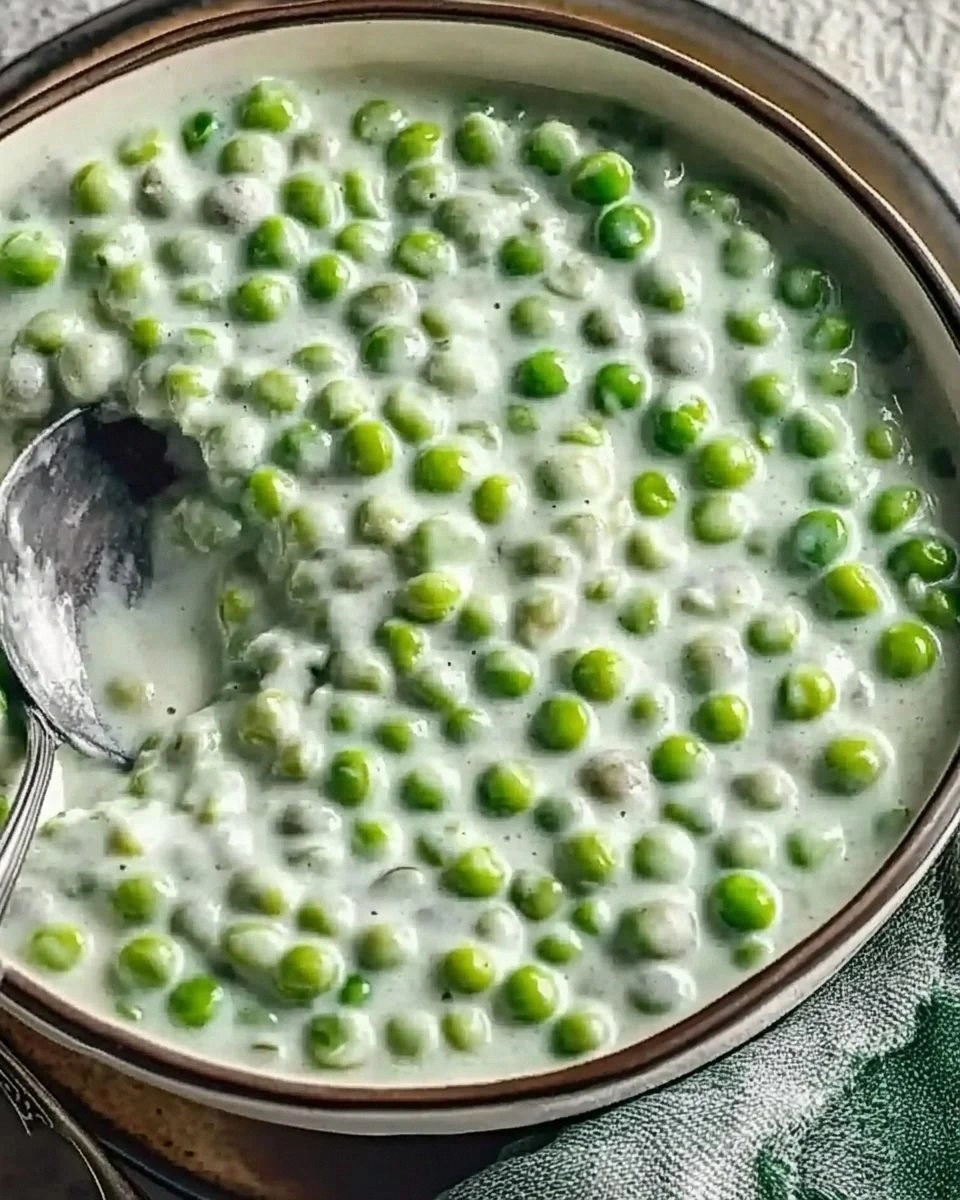
Picture the scene: the pan sizzling as butter melts, releasing that buttery perfume that instantly whispers “home.” The peas, still icy, tumble in and sizzle, the sound like a chorus of tiny bells announcing the start of something magical. As the flour joins the party, it forms a silky roux that smells like toasted bread, and then the milk cascades in, turning the mixture into a velvety river that hugs each pea like a warm blanket. The scent swells, filling the kitchen with a buttery, slightly sweet aroma that makes your stomach do a little jig.
What makes this version truly stand out is the balance of sweet, salty, and buttery notes that dance on your palate without ever stepping on each other’s toes. Most recipes get this completely wrong—either they drown the peas in a heavy cream that feels like a milkshake, or they skim the flavor so thin you forget you ever ate peas at all. I’m here to set the record straight with a method that respects the humble pea while elevating it to star status. I dare you to taste this and not go back for seconds; it’s that good.
There’s a little surprise waiting for you in the middle of this recipe—a pinch of sugar that brightens the natural earthiness of the peas, and a splash of whole milk that creates a sauce so smooth it could double as a runway for a fashion show. This isn’t just a side dish; it’s a nostalgic trip back to grandma’s kitchen, but with a modern twist that makes it feel like a five‑star indulgence. Let me walk you through every single step — by the end, you’ll wonder how you ever made it any other way.
What Makes This Version Stand Out
- Flavor Harmony: The subtle sugar and the precise amount of salt create a perfect sweet‑savory balance that makes each bite sing.
- Creamy Texture: A roux made with butter and flour, then gently whisked with whole milk, yields a sauce that coats the peas like velvet.
- Simplicity: Only seven ingredients, all pantry staples, mean you can pull this together on a weeknight without a grocery run.
- Ingredient Quality: Using frozen peas locks in peak freshness, while whole milk adds richness you won’t get from low‑fat alternatives.
- Crowd Reaction: Guests often ask, “What’s the secret?” and I get to smile, knowing the secret is in the technique, not a hidden exotic spice.
- Cooking Method: The gentle simmer prevents curdling, ensuring a silky finish that feels indulgent without being heavy.
- Make‑Ahead Potential: This dish reheats beautifully, making it perfect for meal prep or a comforting leftovers lunch.
- Versatility: Serve it with roasted chicken, fish, or even spoon it over a baked potato for a hearty twist.
Inside the Ingredient List
The Flavor Base
Butter is the heart of this dish. Its rich, creamy nature creates a foundation that carries the flavor of every other ingredient. If you skip the butter, you’ll end up with a sauce that feels like it’s missing its soul. For a dairy‑free version, try a high‑quality plant‑based butter, but know that the flavor profile will shift slightly toward a nutty note.
All‑purpose flour works its magic by forming a roux with the butter, thickening the milk into a luxurious sauce. Using too much flour can make the sauce grainy, while too little leaves it watery. If you’re gluten‑intolerant, swap in an equal amount of rice flour; the texture will stay silky, though the flavor will be a touch lighter.
The Texture Crew
Frozen peas are the star of the show. They’re flash‑frozen at peak freshness, preserving that bright, sweet snap you love. If you opt for fresh peas, you’ll need to blanch them quickly to maintain that vivid green color and crisp bite. Overcooking peas turns them mushy, which defeats the purpose of this dish’s delightful texture.
Whole milk is the secret weapon that brings richness without the heaviness of cream. It emulsifies with the roux, creating a sauce that clings to each pea. Skim milk will work in a pinch, but you’ll lose that luxurious mouthfeel that makes this side feel indulgent.
The Unexpected Star
A teaspoon of sugar might raise eyebrows, but it’s the quiet hero that lifts the earthy flavor of peas, making them taste brighter and more vibrant. This tiny amount won’t make the dish sweet; instead, it balances the salt and pepper, preventing any one flavor from dominating. If you’re watching sugar intake, you can reduce it to half a teaspoon, though the final flavor won’t be as lively.
The Final Flourish
A pinch of black pepper adds a subtle heat that tickles the palate and prevents the dish from feeling flat. Freshly cracked pepper is preferable; it releases aromatic oils that ground pepper can’t match. Salt, of course, is essential for seasoning, but because the peas are frozen and sometimes salted during processing, start with half the listed amount and adjust to taste.
Everything's prepped? Good. Let's get into the real action…
The Method — Step by Step
Start by bringing a medium saucepan over medium heat. Add the butter and let it melt completely, listening for that gentle sizzle that tells you the butter is hot but not burning. Once melted, watch the butter turn a pale golden hue—this is your cue to move on.
Kitchen Hack: If the butter starts to brown too quickly, lower the heat and add a splash of milk to cool it down instantly.Sprinkle the flour over the melted butter, whisking constantly. You’ll notice a faint nutty aroma as the flour cooks—this is the roux forming. Keep whisking for about 2 minutes; the mixture should turn a light, creamy color, not brown. This step is crucial because it prevents a raw flour taste.
Slowly pour in the whole milk, a little at a time, while whisking vigorously. The sauce should thicken within minutes, turning glossy and smooth. If you see any lumps, keep whisking; the sauce will become silkier the longer you whisk.
Add the frozen peas directly into the sauce. They’ll sizzle as they hit the hot liquid, releasing a burst of steam that smells like springtime. Stir gently, ensuring every pea is coated. Let the peas simmer for 5‑7 minutes, or until they’re heated through and just tender.
Season with the salt, pepper, and sugar. Taste at this point—if the sauce feels a little thin, let it simmer another minute; it will naturally thicken as it reduces. The sugar should give a faint sweetness that lifts the peas without making the dish sugary.
Watch Out: Adding the salt too early can cause the peas to release excess water, making the sauce watery.Turn off the heat and let the mixture sit for a minute. This resting period allows the flavors to meld, and the sauce to reach its final thickness. If you prefer a looser consistency, stir in an extra tablespoon of milk at this stage.
Give the dish a final stir, then taste once more. Adjust seasoning if needed—maybe a pinch more pepper for a gentle kick. This is the moment of truth: the peas should be bright green, the sauce creamy, and the aroma comforting.
Transfer the creamed peas to a serving dish. Garnish with a drizzle of melted butter or a sprinkle of fresh mint if you’re feeling fancy. Serve immediately, or keep warm over a low flame for up to 15 minutes while you finish the rest of your meal.
That's it — you did it. But hold on, I've got a few more tricks that'll take this to another level…
Insider Tricks for Flawless Results
The Temperature Rule Nobody Follows
Never start with a scorching pan; medium heat is the sweet spot. If the pan is too hot, the butter will brown before the flour has a chance to toast, leading to a bitter aftertaste. I once cranked the heat to high, and the sauce turned a nasty amber color—trust me, that’s a mistake you don’t want to repeat.
Why Your Nose Knows Best
Your sense of smell is a better indicator than a timer when the roux is ready. When you smell that toasted, slightly nutty scent, you know the flour has cooked through. If you’re unsure, give the mixture a quick taste; it should be bland, not raw.
The 5‑Minute Rest That Changes Everything
After you finish cooking, let the creamed peas sit off the heat for five minutes. This rest allows the starches to fully absorb the liquid, creating an even silkier texture. Skipping this step often results in a sauce that feels a bit “thin” on the palate.
Butter‑First, Then Flour
Some cooks add flour directly to the pan, but I always melt butter first. This ensures the flour is evenly coated, preventing clumps. If you ever end up with a lumpy sauce, a quick whisk with a splash of milk will rescue it.
Season in Layers
Add a pinch of salt at the beginning of the cooking process, then finish with a final adjustment. This layered seasoning builds depth, preventing a flat flavor. I dare you to try it without the final seasoning tweak—you’ll notice the difference instantly.
Creative Twists and Variations
This recipe is a playground. Here are some of my favorite ways to switch things up:
Cheesy Delight
Stir in ½ cup grated sharp cheddar during the final minute of cooking. The cheese adds a tangy richness that pairs wonderfully with grilled chicken. Perfect for a comfort‑food night.
Herb‑Infused Garden
Add a tablespoon of freshly chopped thyme and a splash of lemon juice right before serving. The herbaceous notes brighten the dish, making it a great side for fish.
Spicy Kick
Mix in a pinch of cayenne pepper or a dash of hot sauce after the peas are cooked. The heat cuts through the creaminess, delivering a surprising zing that will wow spice lovers.
Nutty Surprise
Toast a handful of slivered almonds and sprinkle them on top just before serving. The crunch adds texture contrast, turning the silky peas into a multi‑dimensional experience.
Vegan Velvet
Swap butter for coconut oil and whole milk for oat milk. The flavor profile shifts to a subtle coconut undertone, but the creaminess remains intact—ideal for plant‑based diners.
Storing and Bringing It Back to Life
Fridge Storage
Allow the creamed peas to cool to room temperature, then transfer them to an airtight container. They’ll keep for up to 3 days in the refrigerator. When reheating, add a splash of milk and stir over low heat until warmed through.
Freezer Friendly
Portion the cooled peas into freezer‑safe bags or containers, leaving a little headspace for expansion. Freeze for up to 2 months. Thaw overnight in the fridge, then reheat gently on the stove, adding extra milk if the sauce looks thick.
Best Reheating Method
The stovetop is king. Place the peas in a saucepan over low heat, drizzle in a tablespoon of milk, and stir continuously. This gentle approach revives the silkiness without scorching. Microwaving works in a pinch, but you’ll lose some of the luxurious texture.