I was standing in my kitchen, mid‑midnight, with a bag of Cheetos crumbling all over the counter and a half‑empty box of chicken tenders staring back at me like a dare. I had tried to make a quick snack, but the result was soggy, bland, and frankly, a disappointment that made me question my life choices. Then, in a flash of inspiration (and a desperate craving for something that would make my taste buds do a happy dance), I thought: what if I turned those neon orange puffs into a crunchy, cheesy coating for chicken? The moment I tossed the Cheetos into a food processor and heard that satisfying crush, I knew I was onto something big.
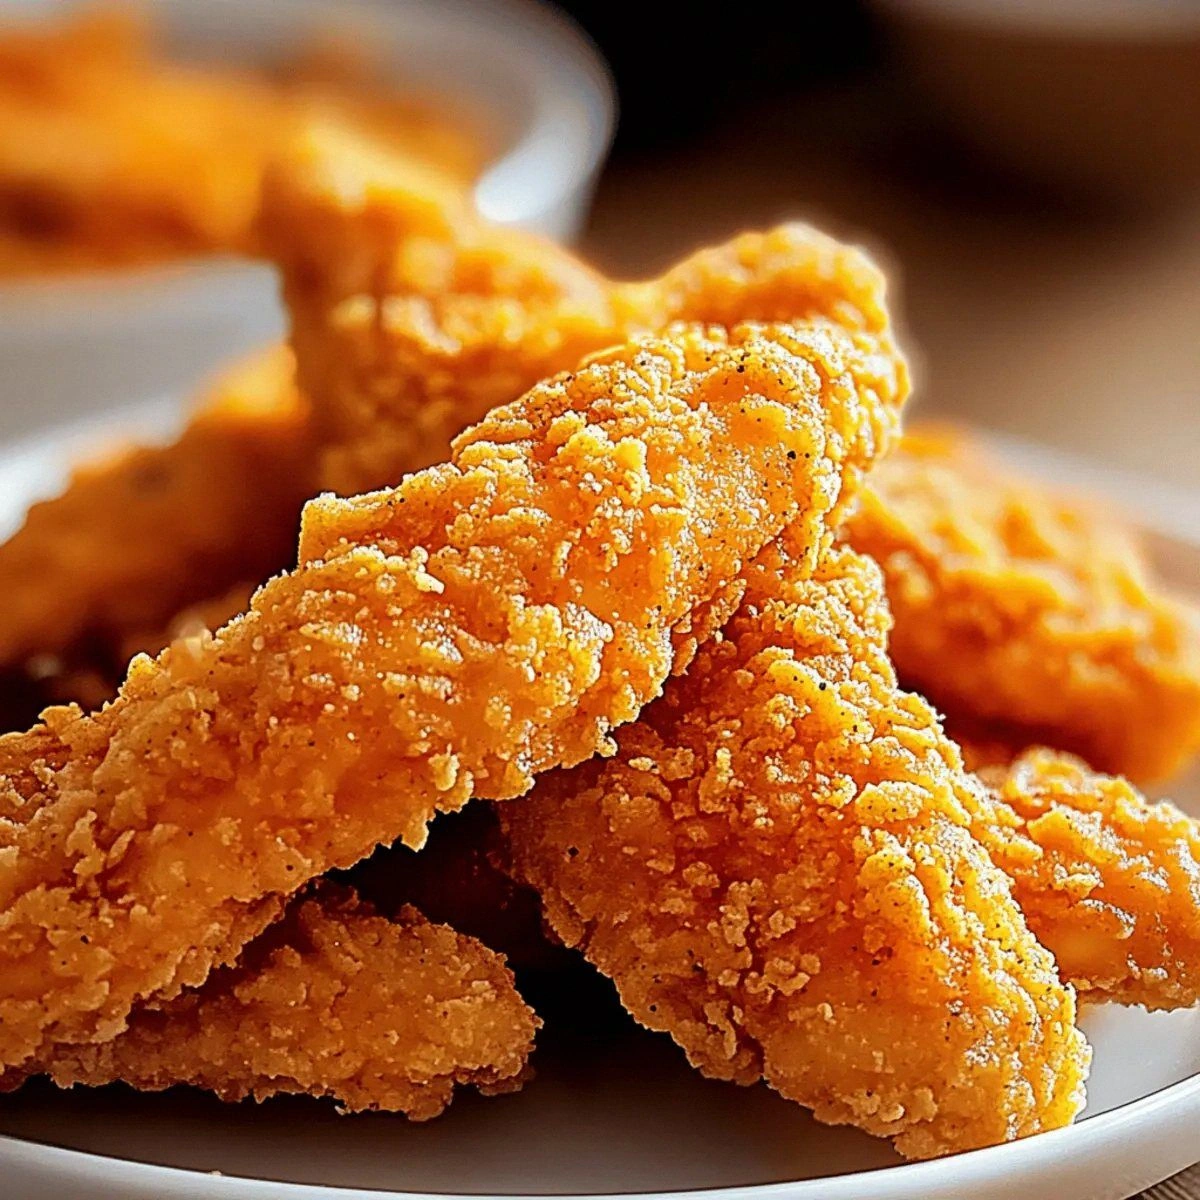
Picture this: the kitchen filled with the buttery, cheesy aroma of fried goodness, the sizzle of chicken hitting hot oil like a drumbeat in a rock concert, and a golden‑brown crust that shatters with the slightest pressure, revealing juicy, tender meat underneath. The crunch is so loud it could be heard from the next room, and the cheese flavor is so bold it makes you want to shout, “I dare you to taste this and not go back for seconds!” I’ve tried countless variations—panko, cornflakes, even pretzel crumbs—but none of them delivered the same addictive crunch that only Cheetos can provide.
Most recipes get this completely wrong. They either drown the chicken in a greasy mess or skimp on the seasoning, leaving you with bland bites that feel like a missed opportunity. What makes my version stand out is the perfect marriage of texture and flavor: a coating that’s crisp enough to snap like thin ice, yet light enough to let the chicken shine through. I’m being honest—I ate half the batch before anyone else got a chance to try it, and I’m not sorry. The secret? A quick flash‑fry that locks in moisture, followed by a brief oven finish that turns the crust into a glossy, cheesy masterpiece.
Okay, ready for the game‑changer? I’m about to walk you through every single step—by the end, you’ll wonder how you ever made chicken strips any other way. Trust me, this isn’t just another snack; it’s a crunchy, cheesy adventure that will have you pulling these golden sticks out of the oven, the whole kitchen smelling incredible, and your friends begging for the recipe. Let’s dive in and make magic happen.
What Makes This Version Stand Out
- Cheese‑Infused Crunch: The Cheetos coating brings an unmistakable cheesy flavor that you can’t replicate with plain breadcrumbs, giving each bite a bold, tangy punch.
- Texture Contrast: A crisp outer shell that shatters like thin ice juxtaposed with juicy, tender chicken inside creates an unforgettable mouthfeel.
- Speedy Prep: From start to finish, the process takes under an hour, making it perfect for weeknight cravings or spontaneous game‑day snacks.
- Universal Appeal: Kids love the bright orange coating, while adults appreciate the sophisticated balance of spice and cheese.
- Ingredient Simplicity: Only five core ingredients are needed, most of which you already have lurking in your pantry.
- Make‑Ahead Friendly: You can prep the coated strips in advance and freeze them, then bake or fry when the mood strikes.
- Customizable Heat: Optional spices let you dial the heat up or down, tailoring the flavor to your crowd.
- Show‑Stopping Presentation: The vibrant orange crust makes for an Instagram‑worthy plate that screams “fun food”.
Inside the Ingredient List
The Flavor Base
The optional spices are the silent heroes that elevate this dish from “cheesy snack” to “flavor explosion.” A teaspoon of taco seasoning or a pinch of Cajun blend adds depth, balancing the cheese with smoky, earthy notes. If you skip them, you’ll still get a tasty bite, but it may feel one‑dimensional. Feel free to experiment—smoked paprika for a subtle heat, or a dash of garlic powder for an aromatic twist.
The Texture Crew
Cheetos are the star of the show. Their airy, puffed structure creates a coating that’s both light and crunchy, while the cheese dust infuses every crumb with that unmistakable flavor. Use any variety—Flamin’ Hot for a kick, or the classic Crunchy for a milder profile. If you’re allergic to dairy, try a cheese‑free version with seasoned cornflakes, but you’ll lose the signature tang.
All‑Purpose Flour acts as the glue that helps the egg adhere to the chicken, creating a barrier that locks in moisture. Skipping the flour results in a wet batter that slides off, leading to uneven coating and soggy strips. For a gluten‑free twist, substitute with rice flour; just be aware it may produce a slightly denser crust.
The Unexpected Star
Eggs are the binding agent that makes the Cheetos stick. Beating them until slightly frothy ensures a thin, even layer that won’t weigh down the coating. If you’re vegan, a mixture of plant‑based milk and a tablespoon of cornstarch works surprisingly well, though the texture will be a tad different.
The Final Flourish
Chicken Tenders provide the protein backbone. Choose fresh, high‑quality tenders—look for pink flesh with a clean smell. If you buy frozen, thaw them completely and pat dry; excess moisture will steam the coating, ruining the crunch. For a leaner option, use chicken breast cut into strips, but expect a slightly drier interior unless you brine them first.
Everything's prepped? Good. Let’s get into the real action and transform these humble ingredients into a crunchy masterpiece.
The Method — Step by Step
-
Start by preheating your oven to 200°C (390°F) and setting a deep‑fat skillet or Dutch oven over medium‑high heat with about an inch of oil. As the oil warms, you’ll hear a gentle hiss—this is your cue that the temperature is just right for a quick flash‑fry that locks in juiciness. While the oil heats, line a large baking sheet with parchment and set aside.
Kitchen Hack: Use a candy thermometer; aim for 350°F (175°C). This precise heat ensures the coating crisps without absorbing excess oil. -
While the oil is heating, set up a three‑step dredging station: a shallow bowl of flour, a second bowl of beaten eggs (add a pinch of salt if you like), and a third bowl filled with the finely crushed Cheetos. Sprinkle your optional spices into the flour for an even distribution of flavor. This station is the backbone of the coating process, ensuring each strip gets a uniform layer.
-
Take each chicken tender and pat it dry with paper towels—this step is crucial because moisture is the enemy of crunch. Dredge the tender in the flour, shaking off excess, then dip it into the egg wash, letting any surplus drip back into the bowl. Finally, roll it in the Cheetos crumbs, pressing lightly so the crumbs adhere firmly. The coating should feel slightly tacky but not soggy.
-
When the oil reaches the perfect temperature, carefully lower a few coated strips into the pan using tongs. Listen for that immediate sizzle; it’s the sound of the crust sealing in moisture. Fry for about 2‑3 minutes per side, or until the coating turns a deep golden‑orange and begins to pull away from the pan edges. This quick fry creates a barrier that prevents the chicken from becoming greasy.
-
Once fried, transfer the strips to the prepared baking sheet. This is the moment of truth—if the crust looks glossy and the edges are slightly puffed, you’re on the right track. Slide the sheet into the preheated oven for an additional 8‑10 minutes; this finish ensures the interior reaches a safe 165°F (74°C) while keeping the exterior crisp.
Watch Out: Do not overcrowd the pan; crowding drops the oil temperature and leads to soggy, uneven coating. -
While the strips bake, prepare a simple dipping sauce: mix equal parts mayo and sriracha, then stir in a squeeze of lime for brightness. This sauce adds a creamy, spicy contrast that makes the cheesy crunch sing. Taste and adjust the heat level—remember, the sauce should complement, not overpower, the chicken.
Kitchen Hack: Add a teaspoon of honey to the sauce for a subtle sweet balance that tames the heat. -
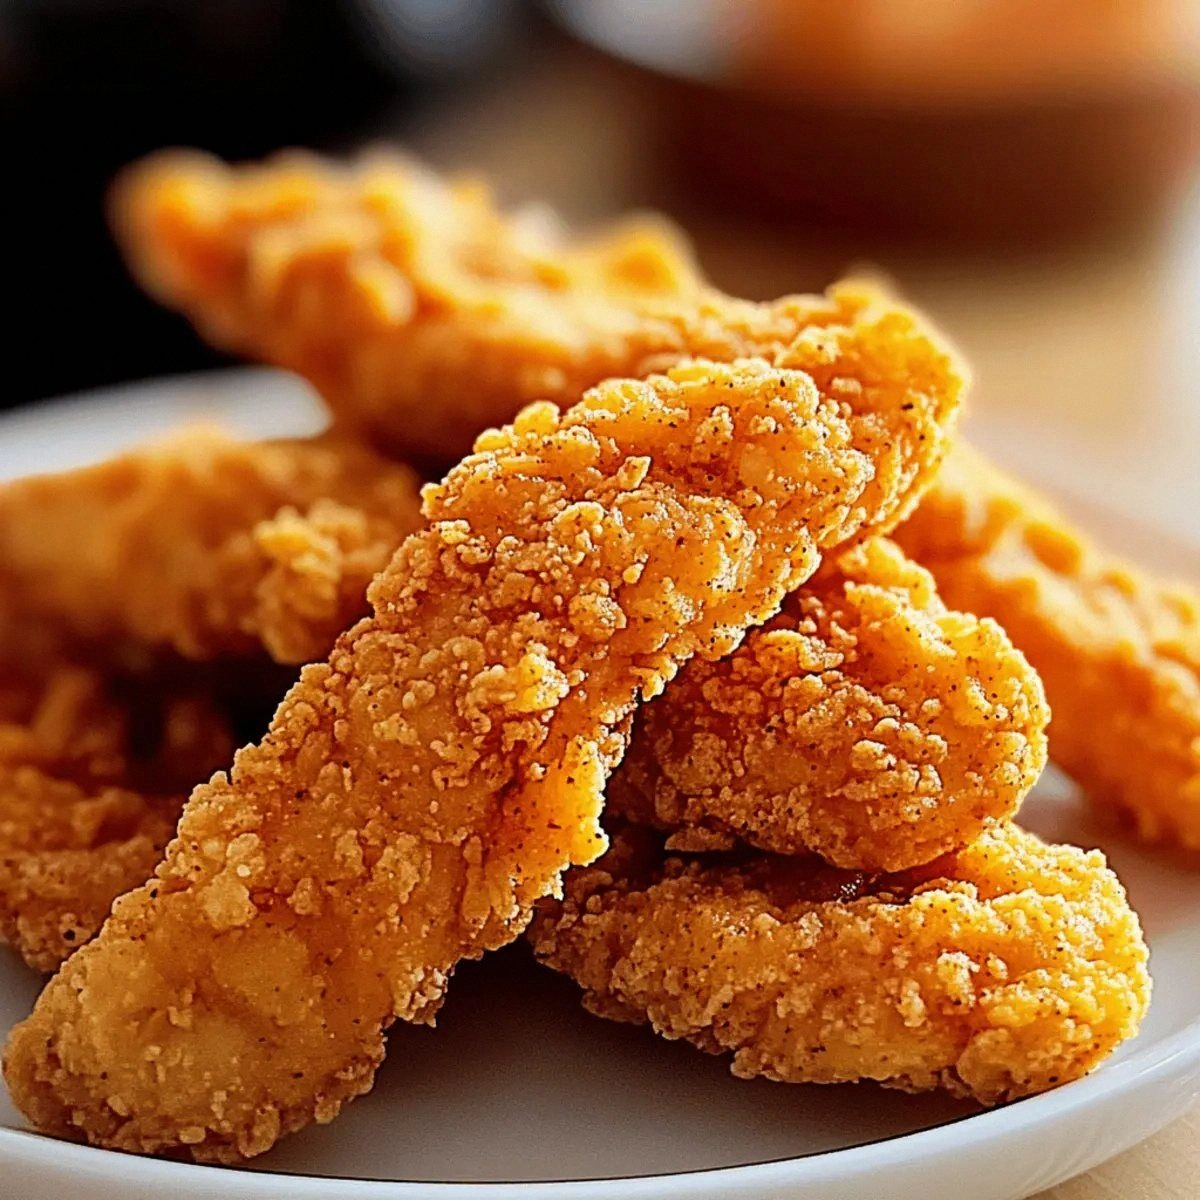
When the timer dings, pull the baking sheet out and let the strips rest for two minutes. This short pause lets the steam escape, preserving the crunch. Serve them hot, arranged on a platter with the sauce in a small bowl—watch how the orange coating glistens under the light.
-
And now the fun part: dig in! That first bite should deliver a thunderous snap, followed by a burst of cheesy, slightly salty flavor, while the chicken stays juicy and tender. I dare you to taste this and not go back for seconds—if you do, you’ve just discovered your new favorite snack.
That's it — you did it. But hold on, I've got a few more tricks that'll take this to another level, ensuring every batch is flawless and every bite is unforgettable.
Insider Tricks for Flawless Results
The Temperature Rule Nobody Follows
Never trust “medium heat” on the stove; always use a thermometer. A stable 350°F (175°C) guarantees that the coating crisps instantly without soaking up oil. I once tried a lower temperature and ended up with soggy, pale strips that tasted like fried flour. Trust the numbers, and your crust will stay golden and crunchy every single time.
Why Your Nose Knows Best
When the oil starts to emit a faint, nutty aroma, you’re at the sweet spot. If the scent turns acrid, the oil is too hot and will burn the Cheetos, turning them bitter. A quick sniff is a reliable gauge—if it smells like toasted cheese, you’re golden. Let your nose be the unofficial kitchen timer.
The 5‑Minute Rest That Changes Everything
After frying, let the strips sit on a wire rack for five minutes before the oven finish. This rest allows excess oil to drip away, preserving the crunch. I once skipped this and ended up with a greasy coating that lost its snap. A brief pause is a small price for maximum texture.
Seasoning the Flour, Not Just the Coating
Mix your optional spices directly into the flour. This ensures the seasoning penetrates the chicken, not just the outer crust. One friend tried sprinkling spices on top after frying; the result was uneven flavor and a soggy exterior. Incorporating spices early guarantees a balanced taste profile from the first bite to the last.
The Double‑Dip Technique for Extra Crunch
For those who crave an ultra‑crunchy experience, dip the chicken a second time: flour → egg → Cheetos, then repeat the egg and Cheetos steps before frying. This creates a thicker, more textured shell that shatters like fireworks. I tried it once for a party, and the reaction was pure joy—people kept reaching for more.
Creative Twists and Variations
This recipe is a playground. Here are some of my favorite ways to switch things up:
Spicy Inferno
Swap regular Cheetos for Flamin’ Hot Cheetos and add a pinch of cayenne to the flour. The result is a tongue‑tingling heat that pairs perfectly with a cool ranch dip. Great for those who love a fiery kick.
Herb‑Garden Delight
Mix dried oregano, thyme, and basil into the flour, then use plain Cheetos for the coating. The herbaceous notes add a fresh, Mediterranean vibe that works wonderfully with a garlic‑yogurt sauce.
Sweet & Savory
Add a tablespoon of brown sugar to the Cheetos crumbs and drizzle a honey‑mustard glaze over the finished strips. The caramelized sweetness balances the salty cheese, creating a complex flavor that surprises the palate.
Gluten‑Free Crunch
Replace the flour with rice flour and use gluten‑free corn Cheetos. The texture stays delightfully crisp, and the dish remains safe for those with gluten sensitivities. Pair with a chipotle‑lime mayo for extra zing.
Baked‑Only Version
If you prefer a lighter approach, skip the frying step entirely. After coating, place the strips on a parchment‑lined sheet and bake at 220°C (425°F) for 15‑20 minutes, flipping halfway. You’ll still get a solid crunch, albeit a tad less decadent.
Storing and Bringing It Back to Life
Fridge Storage
Place cooled strips in an airtight container lined with a paper towel to absorb excess moisture. They’ll stay crisp for up to three days. Reheat in a hot skillet for two minutes per side to revive the crunch.
Freezer Friendly
Lay the coated, uncooked strips on a baking sheet and freeze until solid, then transfer to a zip‑top bag. They’ll keep for up to two months. When you’re ready, bake straight from frozen at 200°C (390°F) for 20‑25 minutes.
Best Reheating Method
For leftovers, preheat your oven to 180°C (350°F), arrange the strips on a wire rack, and add a splash of water (about a teaspoon per strip). The steam revives the interior while the oven restores the outer crunch. In under ten minutes, you’ll have restaurant‑quality heat.